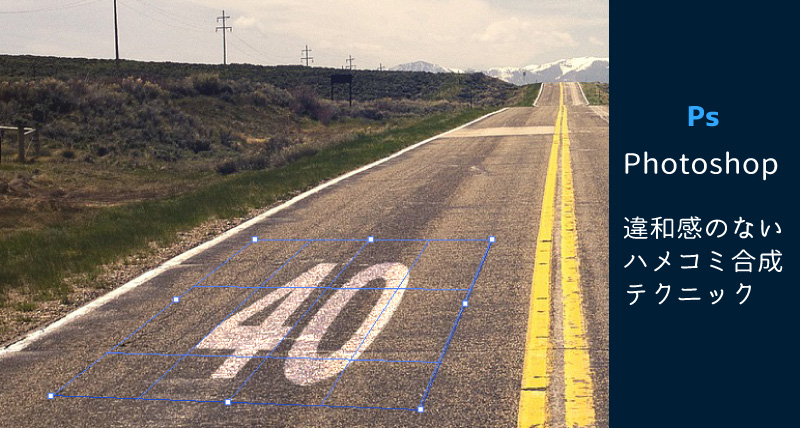
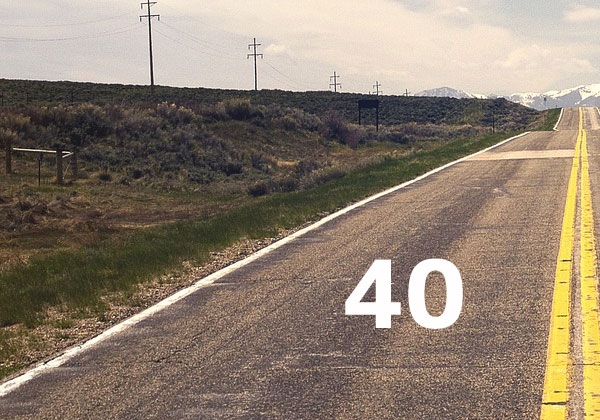
クリップボードにコピーした素材を背景のパースに合わせて変形・合成ができるツールを紹介します。
Vanishing Pointはどこ?
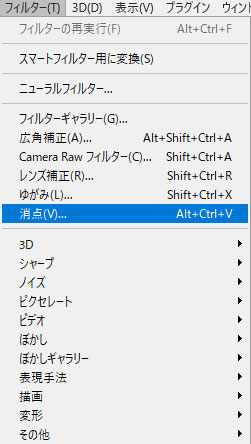
Vanishing Pointは「消点」へ名称が変更になりました。フィルター > 消点でワークスペースを開けます。
準備
写真の上に嵌め込みたい素材を貼り付ける用のレイヤーを作成しておきます。次に道路に嵌め込みたい「40」の文字を入力後これをクリップボードにコピーしておきます。
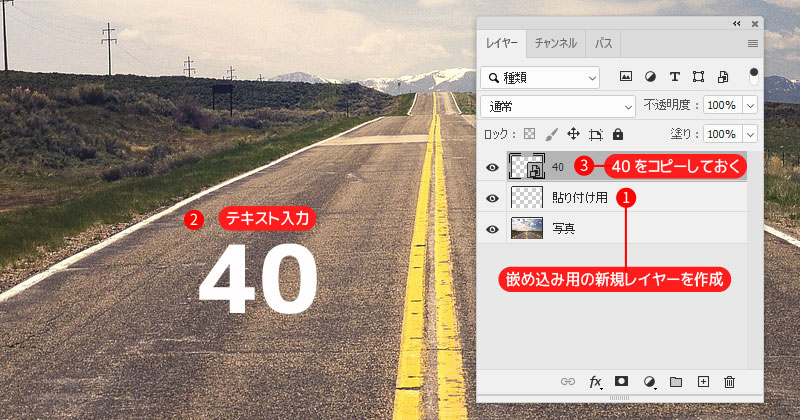
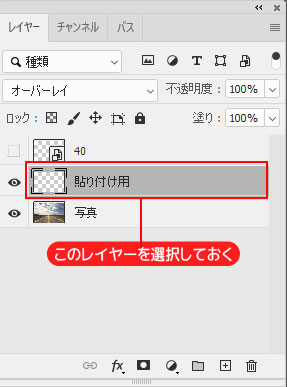
選択しているレイヤーに反映されるので消点のワークスペースを開く前に貼り付け用レイヤーを選択しておきます。
消点のワークスペースを開く
フィルター > 消点を選んでワークスペースを開きます。左上のツールパレットからグリッドアイコンを選択されていることを確認します。
嵌め込みたい箇所にグリッドを作成します(ペンツールのように点と点で結ぶ操作)

素材をペーストする
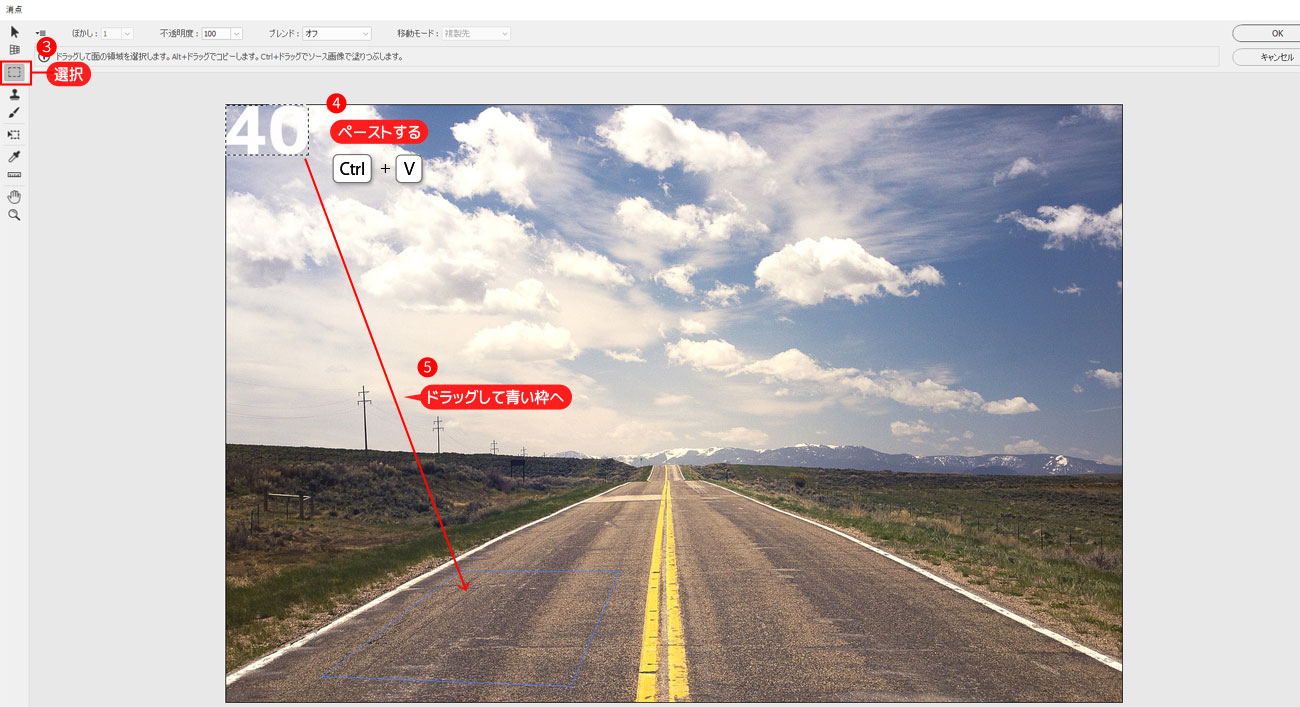
▼次に長方形の選択ツールを選択しておき、コピーしておいた文字をワークスペース上に貼り付けします(左上に配置されます)
青いグリッド枠にペーストした素材をドラッグします。
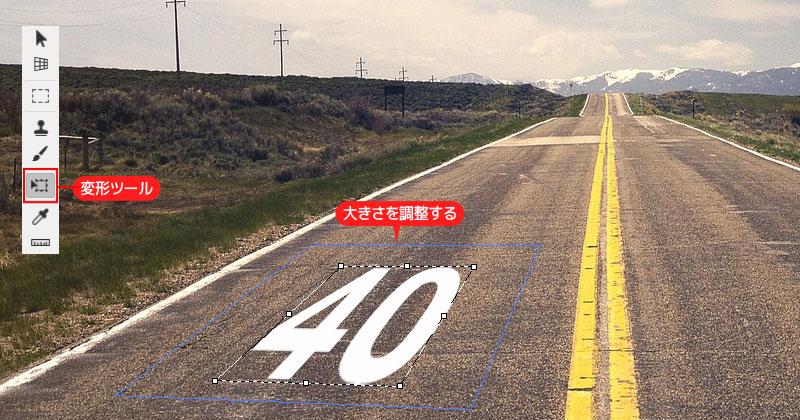
大きさ調整をする
▼変形ツールで大きさを調整できます。納得のいく形になったら右上のOKボタンを押して作業を完了します。
仕上げ
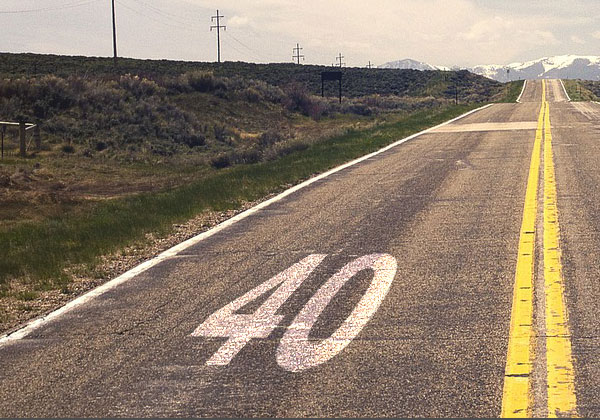
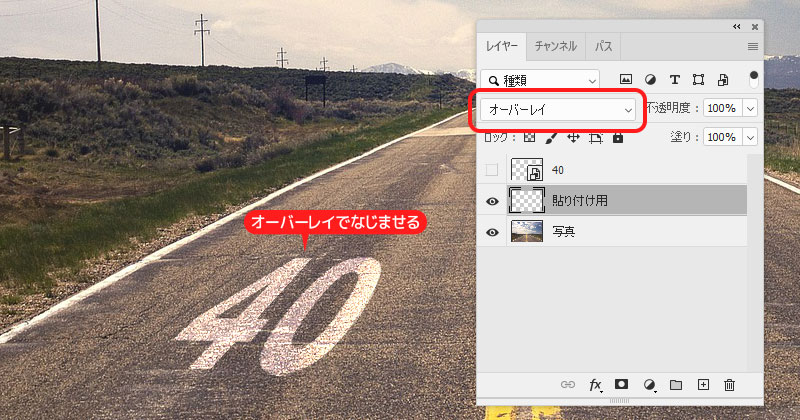
▼このままだと浮いているので描写モードをオーバーレイに変更して道路になじませて完成です。
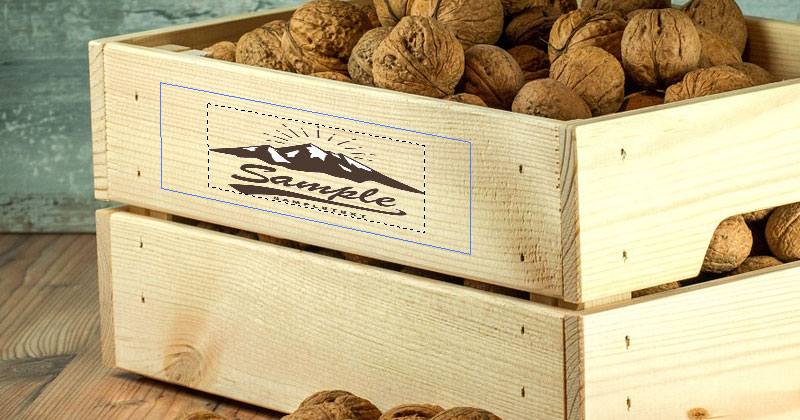
▼同じ要領で箱の側面にロゴは張り付けたりもできます。